Beginner tips for composting at home: start your eco-friendly journey
Composting at home is a rewarding way to reduce waste, create natural fertilizer, and support a healthier environment. If you’re new to composting, the process might seem a bit confusing at first. This guide will provide you with beginner-friendly tips to help you start composting effectively right in your backyard or even on your balcony.
Why Compost at Home?
Composting transforms organic waste like fruit peels, vegetable scraps, and garden clippings into nutrient-rich humus that improves soil quality. Benefits of composting at home include:
– Reducing landfill waste and methane emissions
– Enhancing soil structure and fertility
– Saving money on store-bought fertilizers
– Encouraging beneficial soil organisms
Choosing Your Composting Method
There are several methods suitable for beginners, depending on space and commitment:
Outdoor Compost Pile or Bin
Ideal for gardens or yards, outdoor compost bins confine the composting materials, keeping pests away and maintaining moisture. Compost piles can be open but need turning and monitoring.
Tumbler Composters
These are enclosed rotating bins that make turning compost easy and faster. They fit well in smaller gardens and reduce smells and pests.
Worm Composting (Vermicomposting)
Using worms to break down kitchen scraps is excellent for indoor composting or apartments. Worm bins are compact and produce liquid fertilizer (worm tea).
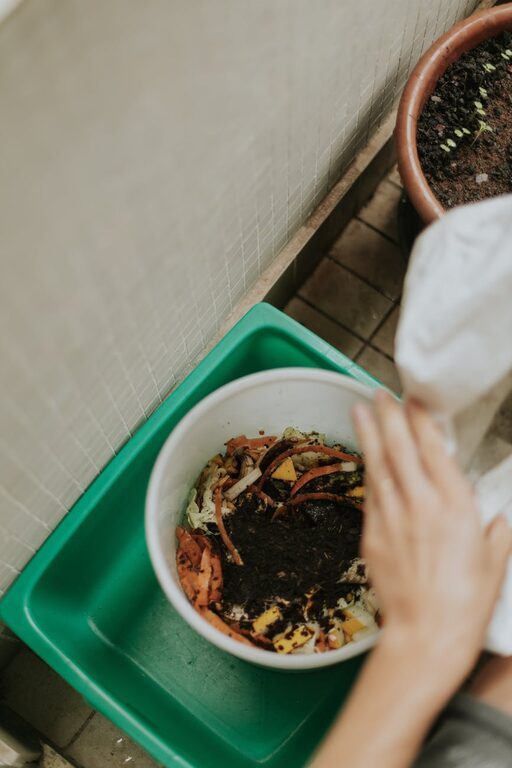
What to Compost: Greens and Browns
Successful composting depends on balancing “green” and “brown” materials.
Greens (Nitrogen-rich)
– Vegetable and fruit scraps
– Coffee grounds and tea leaves
– Fresh grass clippings
– Plant trimmings
Browns (Carbon-rich)
– Dry leaves
– Straw or hay
– Cardboard and paper (shredded)
– Wood chips and sawdust (untreated)
Try to maintain a ratio of about 2-3 parts browns to 1 part greens for good decomposition.
What NOT to Compost
Avoid adding items that cause odors or attract pests:
– Meat, fish, bones, and dairy products
– Oils, fats, and greasy foods
– Diseased plants or invasive weeds
– Pet waste from carnivores
Setting up Your Compost Bin
- **Location:** Pick a well-drained spot that’s convenient but not in direct sun all day.
- **Layering:** Begin with coarse browns for aeration, then alternate layers of greens and browns.
- **Moisture:** Keep compost moist like a wrung-out sponge; water if dry or add browns if too wet.
- **Aeration:** Turn or mix the pile every 1-2 weeks to provide oxygen, speeding decomposition and controlling odor.
Troubleshooting Common Compost Issues
– Bad smells: Often due to too much green/wet material or lack of air. Add browns and turn more frequently.
– Pests: Secure bin lids, avoid meat/dairy, and bury food scraps under browns.
– Slow decomposition: May need to add nitrogen-rich greens, keep pile moist, and aerate.
Harvesting Finished Compost
You’ll know compost is ready when it’s dark, crumbly, and earthy-smelling—usually after 2-6 months depending on conditions. Use it as:
– Soil amendment for flower beds or vegetable gardens
– Potting mix ingredient
– Mulch around plants
Tips for Success
– Chop or shred kitchen scraps to speed decomposition.
– Keep a small compost bin in the kitchen for convenience.
– Use a compost thermometer (optional) to check if your pile is active.
– Be patient—composting is a natural process that takes time.
Conclusion
Starting composting at home is easier than many think and has a positive impact on both gardens and the environment. By following these beginner tips, you’ll soon enjoy rich, homemade compost that nourishes your plants while reducing waste. Happy composting!